Jun 8, 2024
Setting up Google My Business (GMB) is an absolute must for any local photographer. If you want to get found online and have clients reach out to you, this is the way to get things moving. If you want to collect reviews people trust and prove that you run an established business, then Google My Business is where you need to start. It’s one of the biggest components of SEO that photographers need to have in place, and it’s a completely free tool.
But to understand why you’d want to create a Google My Business Profile and why this works so well when done correctly, you need to try and see things from Google’s point of view, and understand why it is that they do what they do.
Understanding Google
For many people, Google IS the internet. But at it’s very core, it’s simply another website on the internet (albeit a VERY useful one that just about everyone uses and knows…)
Google is a database of all the websites on the internet. And in addition, it provides countless other tools like maps, docs, sheets, and on and on.
But let’s get to the point a little more here… Google exists to show us the answers to the questions we are asking and to give us the very best of everything we search for online (the internet is FULL of B.S. and Google wades through it all to hopefully give us the best possible answers and solutions to our needs.)
If Google starts getting this process wrong, people head to *AHEM* Bing… and Google starts to lose revenue! OUCH!

How Google My Business Works
If you’re looking for a new restaurant to try, or maybe a gym to head to, you likely turn to Google maps (even sometimes without realizing you’re using it when you do a normal Google search). GMB is sometimes called the Map Pack. It’s where businesses essentially apply to be featured in these map results. Map results are also searched through the main Google site, so if someone types in, “Denver Pet Photographer,” and you have the top profile that’s ranking the best in Google’s algorithm, your site will naturally show in the results on the map, and on their search site.
Whoever searches this (or any keyword/term) is VERY likely to click on the top few results that they see.
It’s also important to note that Google serves up these results based on location. This means that the person may have even typed “Pet photographer near me” and you’re site showed up right away – congrats, you have a solid chance at landing a client because of this ranking!
GMB is vital for local photographers
If your focus is local and you want to land more clients in and around your area of service, GMB is a necessity to scale things up and automate leads. Yes, it is a competition. And Yes, you’ll have to work on it regularly to keep your machine going. But it’s beyond worth the time you’ll sink into getting this going when you start hearing leads say, “I just found you on Google and was so impressed with your portfolio…”
The good news? GMB and Local SEO or Search Engine Optimization is FAR easier to perform and rank than national campaigns – and with just a bit of know-how, you’ll be able to start making some magic happen.
Yes… you read that right. Google My Business is a vital and key part of SEO (if you’ve heard that term before). Now the reason it’s easier to rank locally and have your site show in results, is that you’re competing in a much smaller pond. And thanks to this article, and all the resources on this site, you’ll be able to outrank the other photographers in your area if you implement these strategies correctly.
The local pond consists of just your neighborhood and a few surrounding areas. Not even your whole city (if you’re in a big city especially).
A national SEO strategy would mean competing with every photographer in the country – now that’s tough to do as there are a LOT of smart photographers out there with stellar SEO! Keeping it local makes it simpler and puts the odds in your favor, plus most photographers are only looking for local business. If that’s you, then let’s get this process moving!
How to set up a Google My Business Profile for your Photography Business and Start Ranking!
Step 1:
This first one is simple. If you are a business owner ready to appear in search results, you can create your own GMB listing. To do this you’ll head to this site: https://www.google.com/business/
Click any of the “Manage Now” buttons and you’ll be asked to login to your Google account, assuming you already have one. If not, you’ll need to set that up as well.
Step 2:
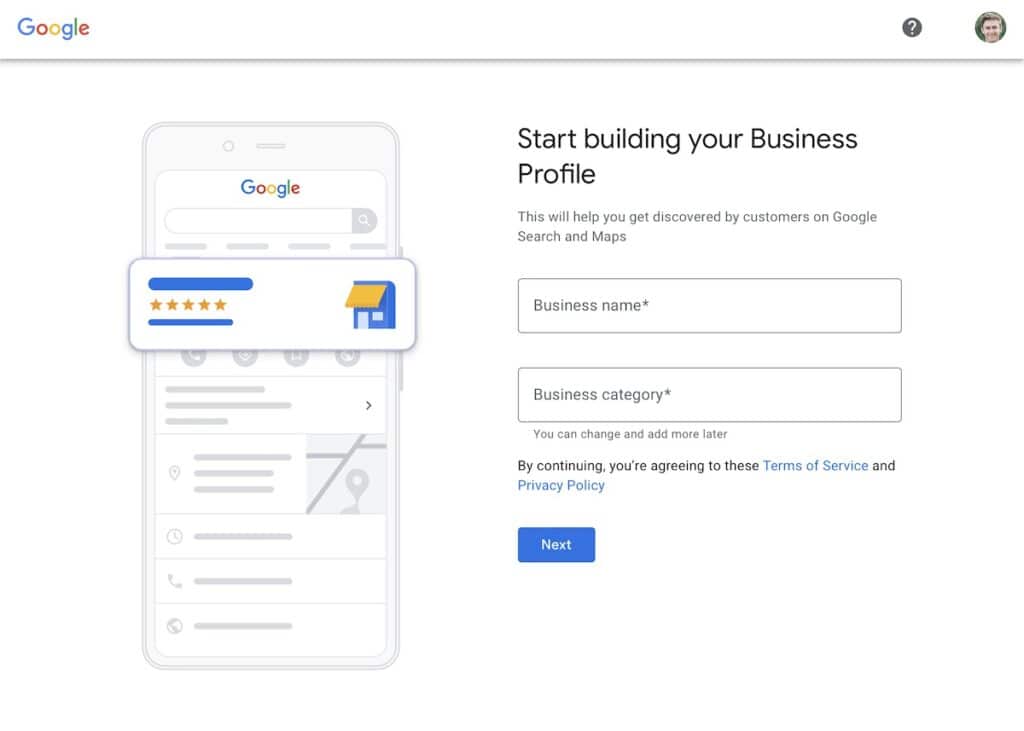
Next you’ll be asked to enter your business name and category. The name is pretty self explanatory. Category is basically what type of photographer you are. Start typing in “photographer” to see the options that are available. Sometimes there will only be a few here so choosing the most basic “photographer” option is best if the other’s don’t fit.
Step 3:
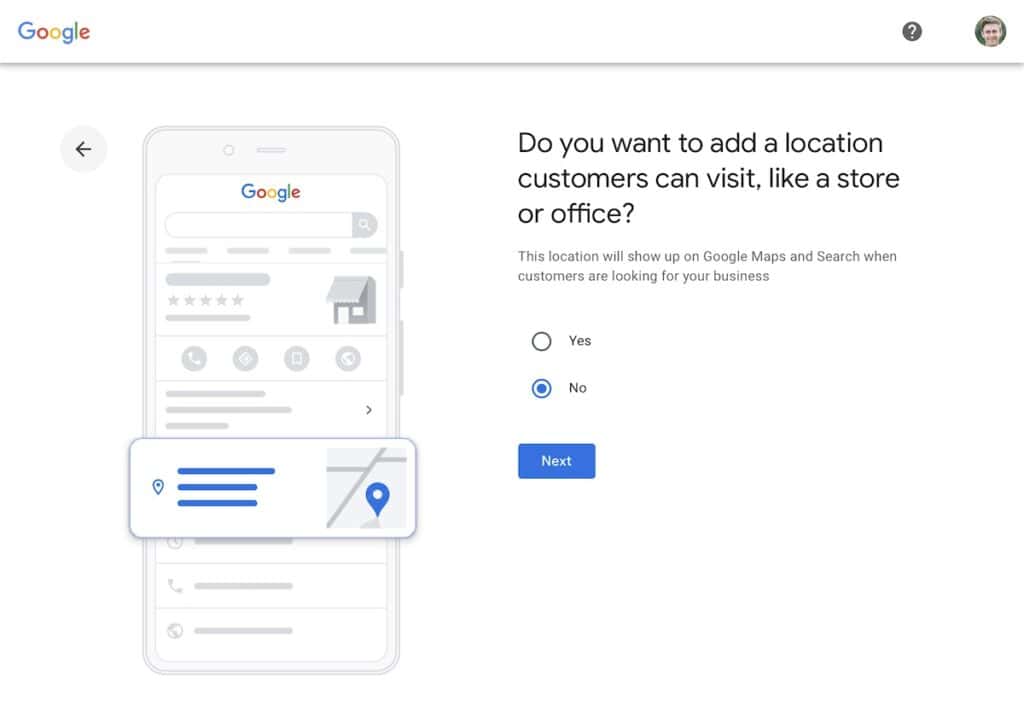
If you have a physical location for a studio or office, enter that here. If you shoot out of your house and go to your photo clients, click “no” and move to the next step. Google now offers a “hybrid” location as well if you have a studio that you work from, but also shoot on location within a 2 hour drive of your studio.
Step 4:
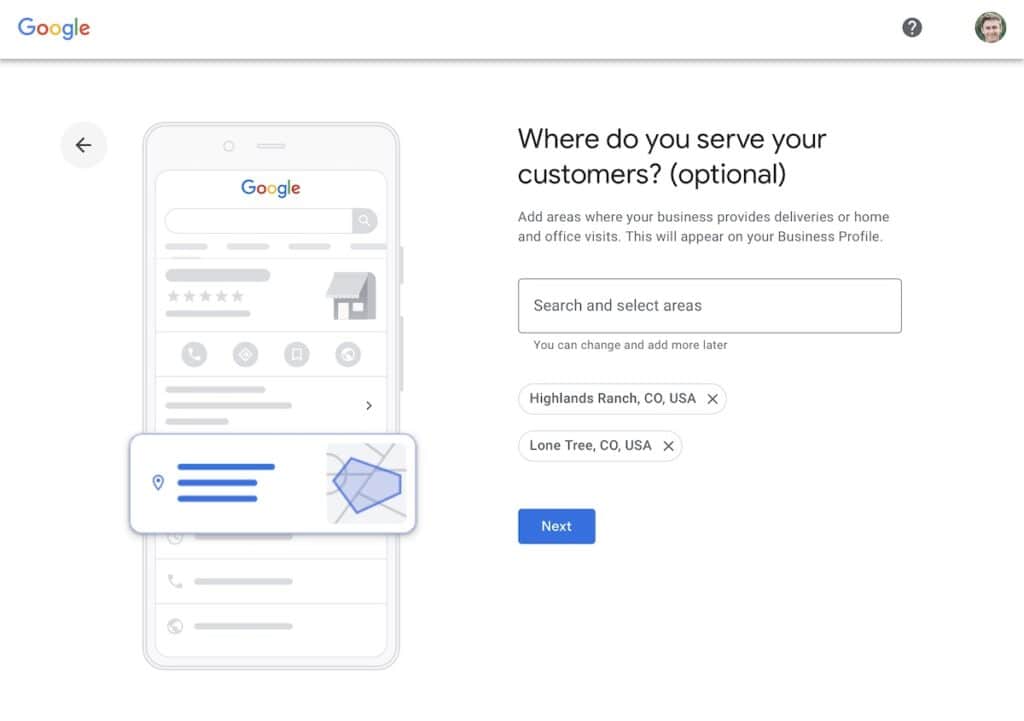
Next you’ll be asked where you serve customers. For this one go as specific as the options allow. If you live in a small area or region of your city that has a name, use that and see if the option pops up. Choose your small area first and then a few other areas around you that you work in as well. This is a very important step but note that you can always edit this later!
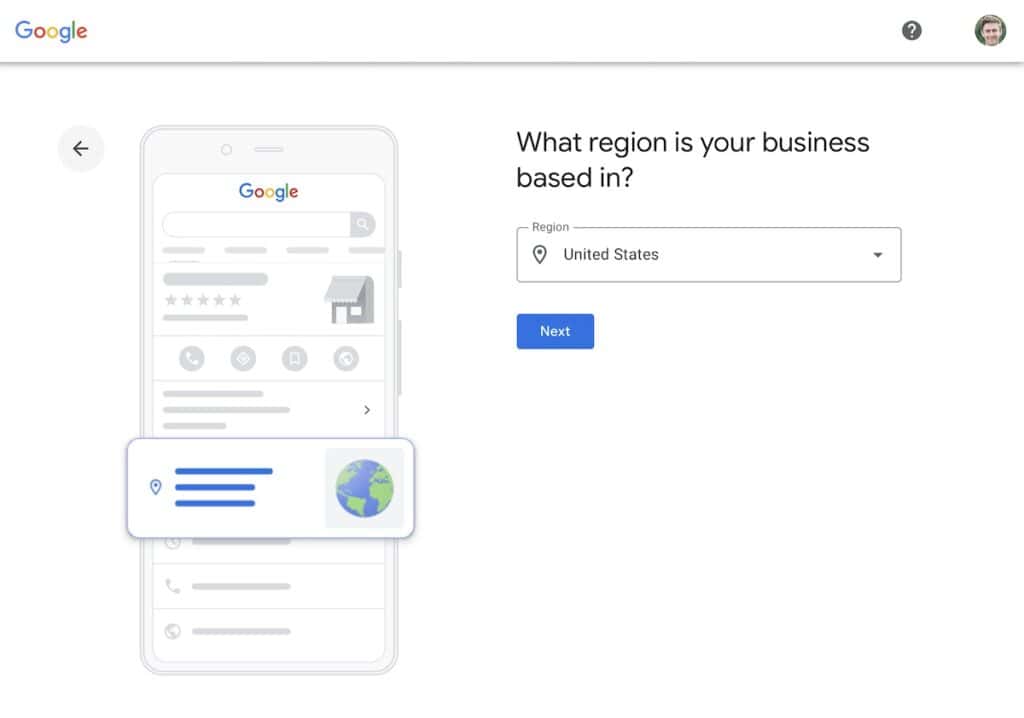
Step 5:
Let’s cover a few of the screens here since the next are pretty obvious. Choose your country, then click next and enter your photo businesses website and phone number for contact information.
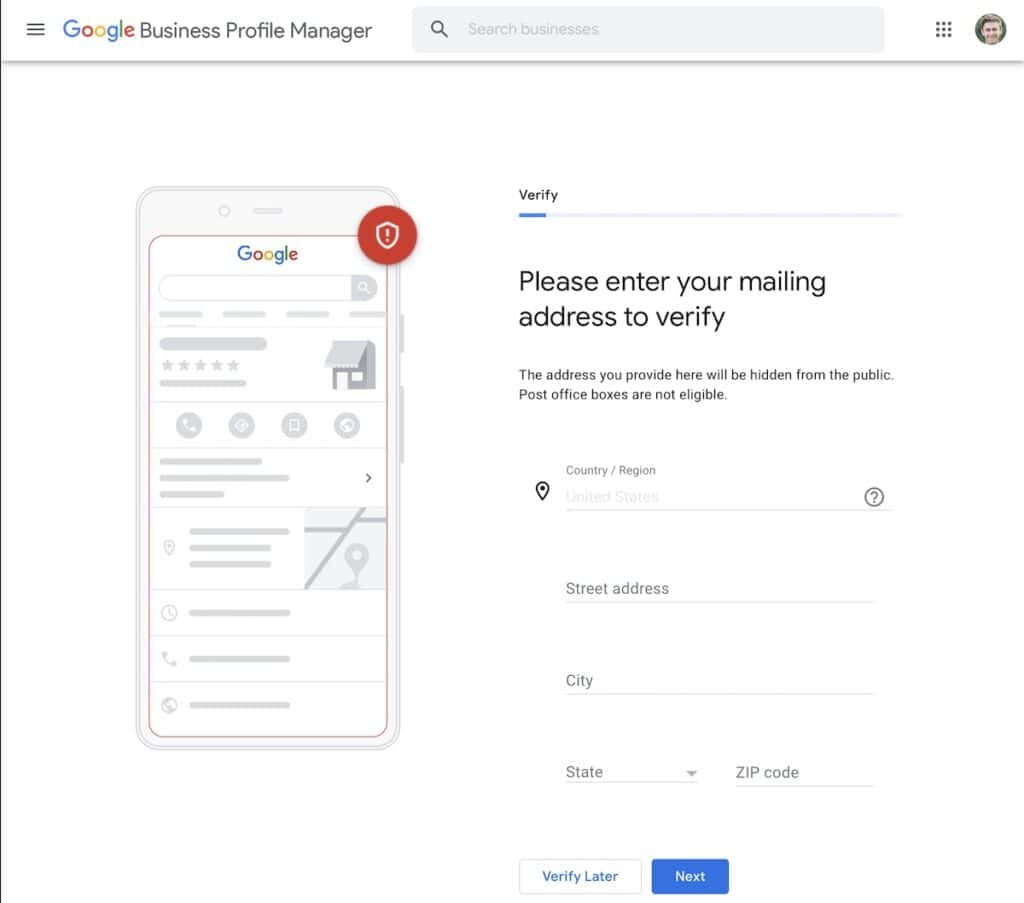
Step 6:
Now it’s time to verify your business. This is a step that always seems to frustrate photographers but it’s here to safe guard us from fake listings. You’ll likely need to enter your mailing address here to receive a physical post card from google with a code to prove you are a real person with a real business. On rare occasion you won’t be asked to do this step and it will auto-verify, if that’s the case, you can move on right now!
You can also click, “verify later” if you want to move on, but your listing will not show on Google until this is completed so I’d suggest getting it over with right away!
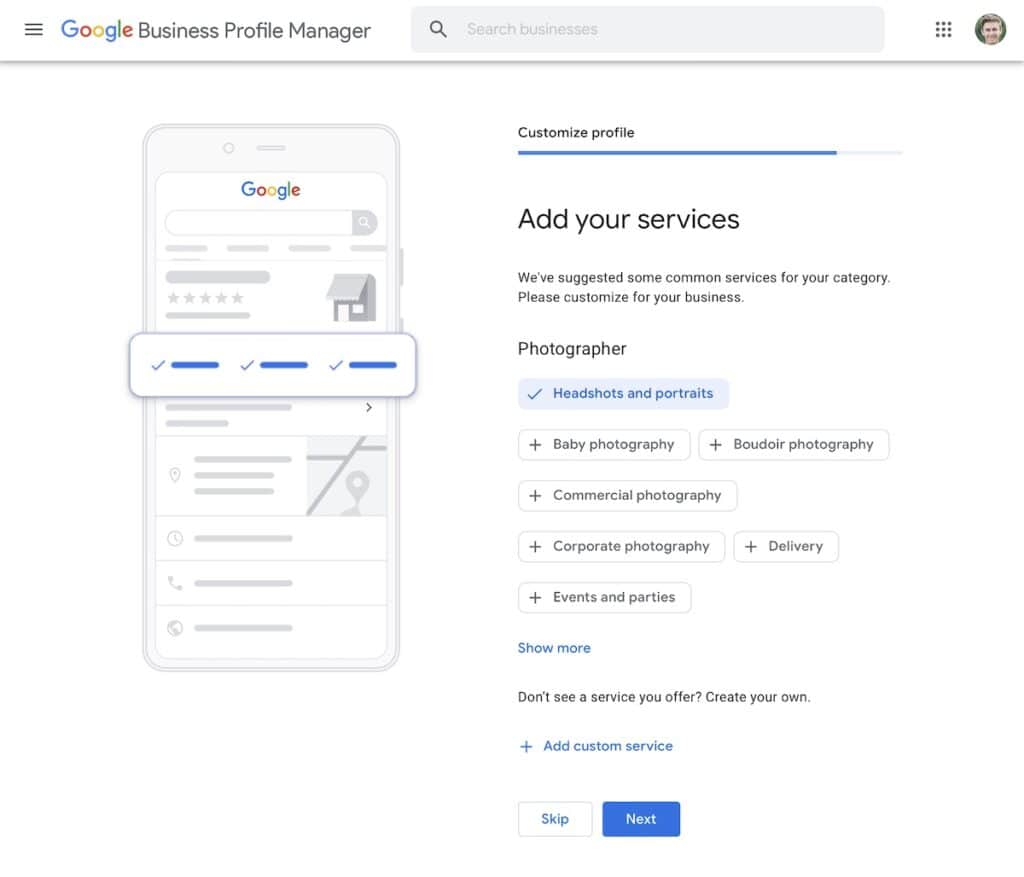
Step 7:
It’s time to add your “services”! This is what you do as a photographer. Get hyper-specific here! These are literally the “terms” that people are searching for on Google.
Now most photographers I’ve worked with think, “I’ll just click as many as possible and land whatever I can!” AVOID DOING THIS! You want Google to see you as a very specific photographer (and your clients too if you really want to make things happen) and adding more won’t help your case. List your strongest and main focus first and don’t feel the need to add more that aren’t really relevant.
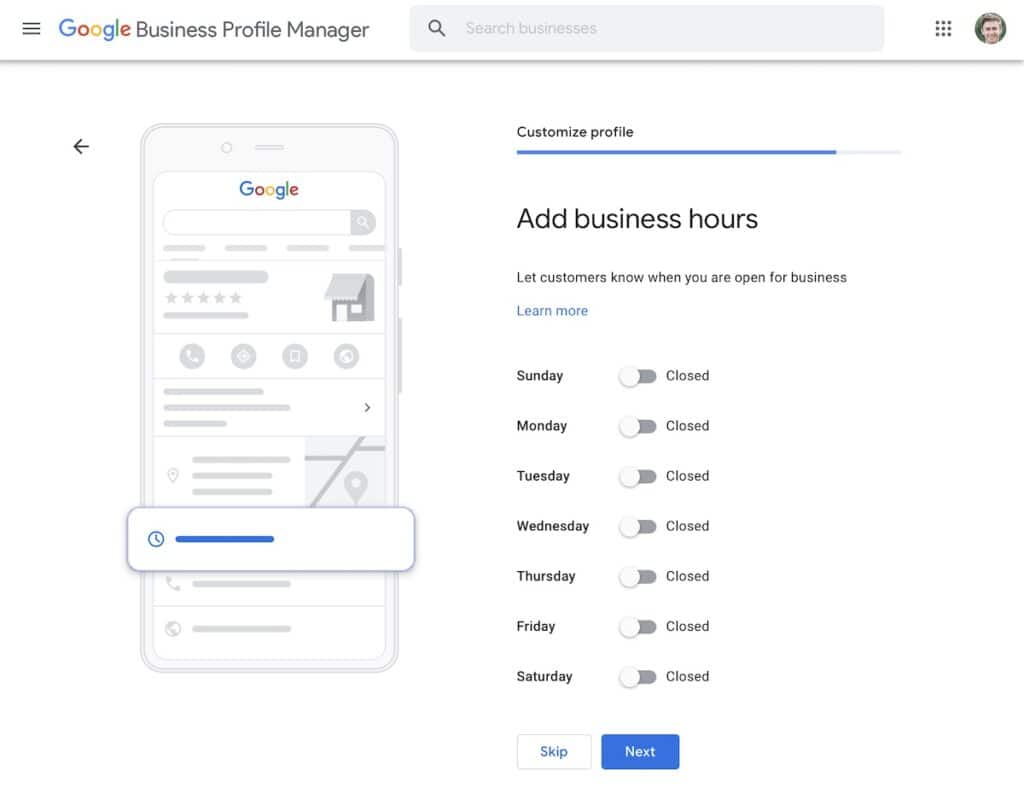
Step 8:
Business hours. This is only relevant if you have an office or you want people to know when they can call you and when you work. For photographers without studios or offices this is a step you can skip. If you do have a studio or office make sure you fill this out with your accurate open hours.
Following this screen is the “messaging” option screen. You can choose to allow potential customers to send you messages through Google. I’d recommend keeping this on if you’ll check your profile regularly, or shutting it off if you only want messages to come in from your own site (however, it’s always good to make it as easy as possible for potential clients to get in touch!)
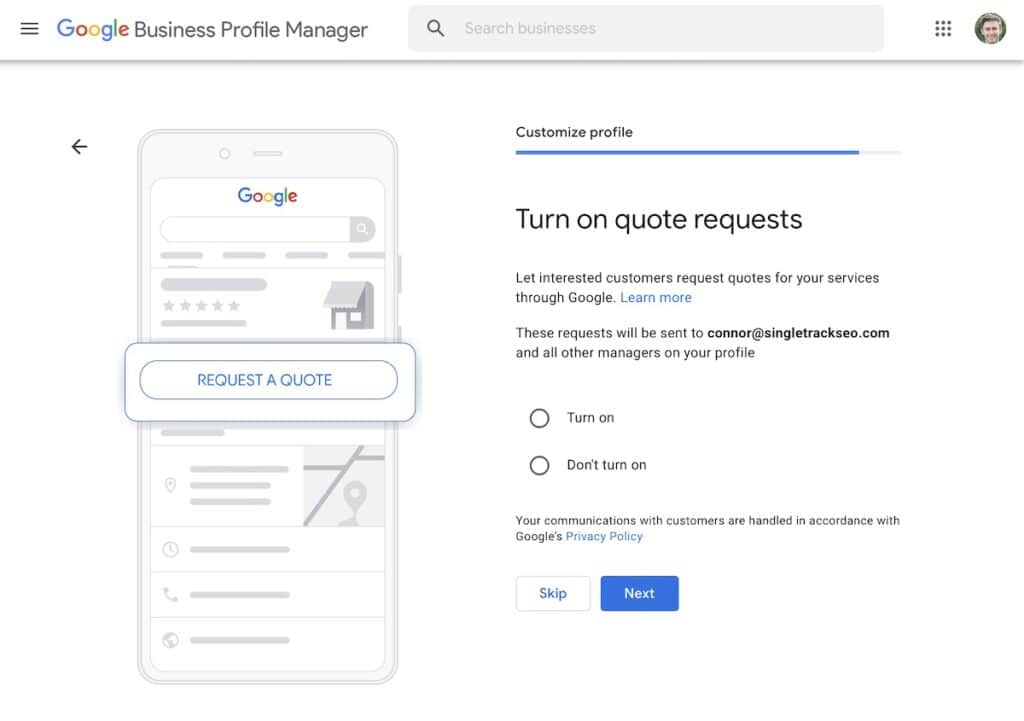
Step 9:
Quote requests will show up next. For this one you need to decide if customers/clients should be able to reach out to you for a quote directly through Google. These will go to your inbox so you don’t have to check anything.
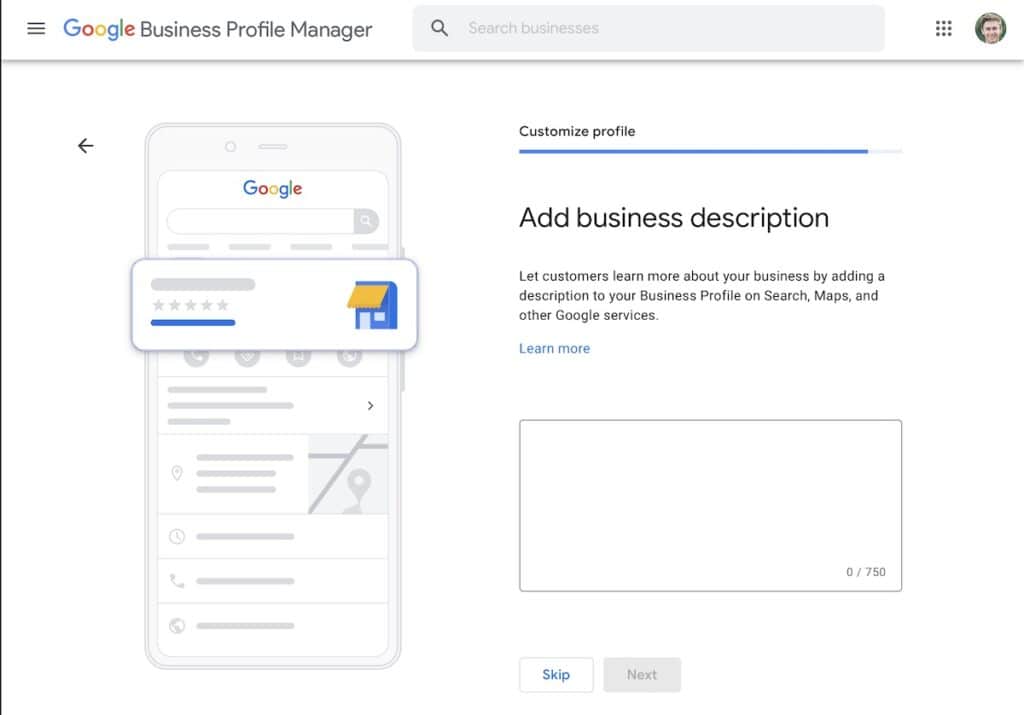
Step 10:
Here’s the big one, the one that I could easily write an entire article about on its own – and likely will soon – the business description. Why is this so important? Because it’s the one area where you can insert your own messaging into Google that will help your site rank higher for the most accurate terms for your business. It’s also where you can ENTICE potential photo clients to learn more about your business and reach out to you or click to view your portfolio.
Your description should cover at a minimum: your locations served, your specialty photography style, your offerings, and should be enticing to click.
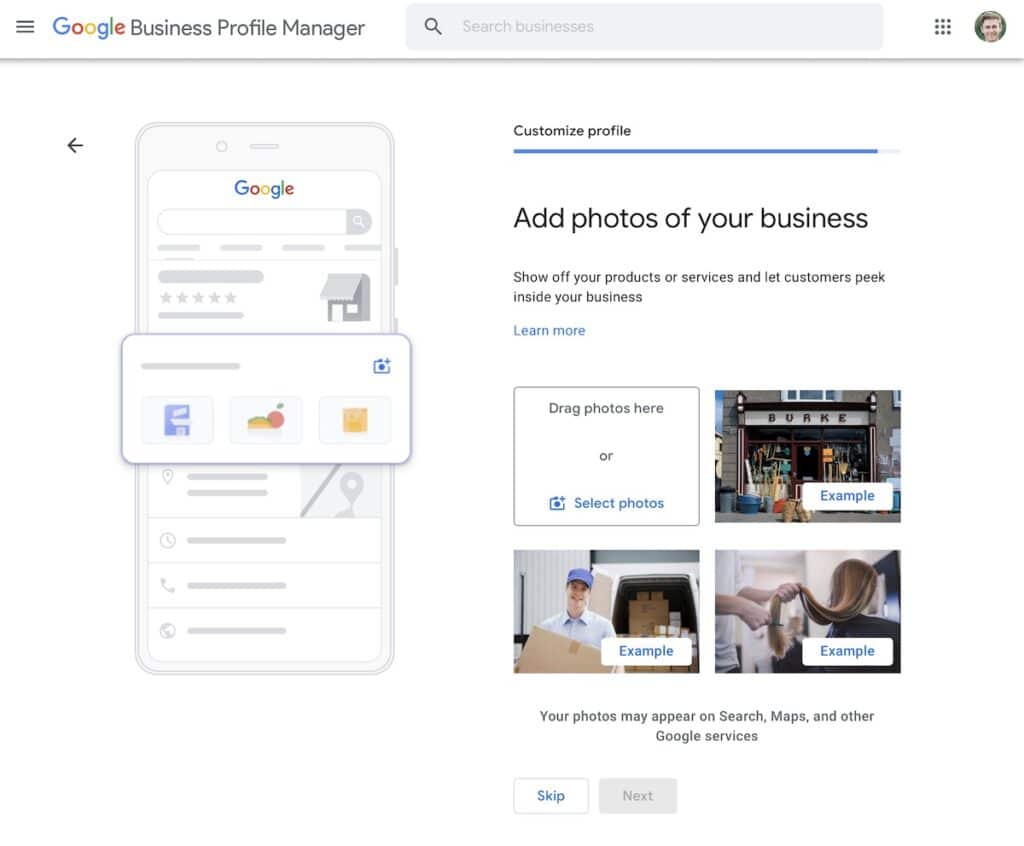
Step 11: Add Photos
This one seems pretty self-explanatory. Add great looking photos of your physical business location (if you have one) and your top client photos to show off your serious photography skills. This is where you can really stand out and impress people who would want to hire you! Remember, you can regularly update this and change the order, so try not to overthink and simply get things going here.
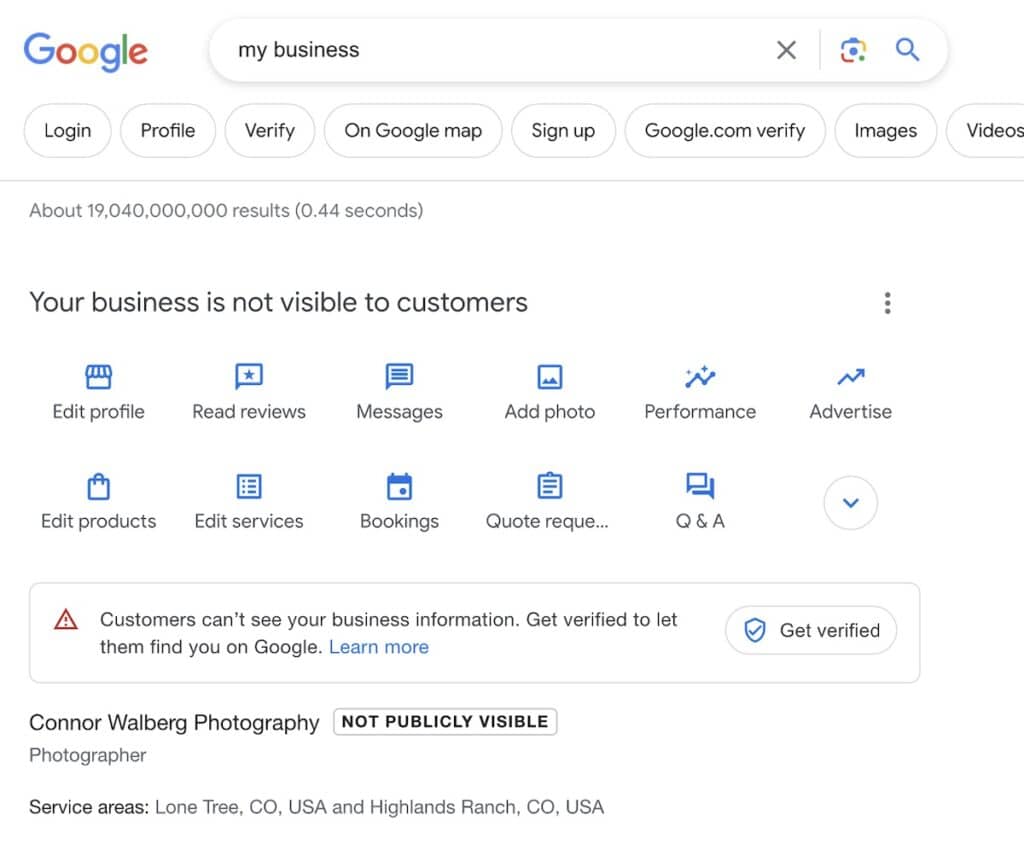
Step 12: You’ve done it!
Here’s where Google will ask you to advertise. You’ll want to learn all about that if it fits your style of photography, but not right now… save that for another time. Right now we are focusing on SEO and making your listing stand out.
Now that you have all the basics setup you’ll be taken to a rough version of how your business will look on Google. Click on “edit” and start filling out every detail you can. The more thorough and accurate the better. Once you’ve verified your account, then everything you’ve done will show up! Congrats!
Now that you have your Google My Business setup, it's time to dive into the Local SEO for Photographers guide and start working on improving your SEO all around.
